Are you looking for a safe and stylish way to store your firearms? Installing a wooden gun rack might be the perfect solution for you.
Not only does it keep your guns organized and easily accessible, but it also adds a classic touch to your space. In this guide, you’ll discover simple steps to install a wooden gun rack yourself, even if you’ve never done a project like this before.
By the end, you’ll have a sturdy, beautiful rack that protects your firearms and fits your style perfectly. Ready to get started? Let’s dive in!
Choosing The Right Wood
Choosing the right wood for your wooden gun rack is important. The wood affects how strong and beautiful the rack will be. You want wood that holds guns safely and looks good in your space. Some woods last longer and need less care. Others may be softer but easier to shape. Knowing the types of wood and their qualities helps you pick the best one.
Types Of Wood For Gun Racks
Hardwoods like oak, maple, and walnut are popular choices. They are strong and resist dents and scratches. Pine and cedar are softer woods but easier to work with. Cedar also smells nice and can keep bugs away. Choose wood based on the style and feel you want. Dark woods like walnut give a classic look. Lighter woods like pine offer a rustic, natural style.
Durability And Finish Options
Durability matters because the rack must hold heavy guns safely. Hardwoods usually last longer without damage. You can protect wood with finishes like varnish or oil. These finishes keep moisture out and stop wood from cracking. Some finishes also bring out the wood grain’s beauty. A good finish makes cleaning easier and keeps the rack looking new. Always pick a finish that matches the wood type and the rack’s use.
Gathering Tools And Materials
Before installing a wooden gun rack, gathering the right tools and materials is important. This step ensures smooth progress and a sturdy rack. Having everything ready saves time and avoids interruptions.
Organizing tools and materials makes the project easier. Prepare your workspace to keep items within reach. This helps you focus on the installation without delays.
Essential Tools Needed
Start with a tape measure to check space and wood size. Use a level to keep the rack straight on the wall. A drill and drill bits help create holes for screws.
Screwdrivers are needed to fasten screws tightly. A stud finder locates wall studs for secure mounting. Sandpaper smooths rough edges on the wood.
A pencil marks measurements and drill points. Safety gear like gloves and goggles protects hands and eyes. These tools make the installation safe and efficient.
Materials Checklist
Choose quality wood like pine or oak for durability. Wood screws hold the rack firmly to the wall. Wood glue adds extra strength to joints.
Brackets or mounting hardware support the rack’s weight. Finish options include stain or paint for a nice look. Sanding blocks prepare the wood surface before finishing.
Gather all materials before starting. This avoids trips to the store mid-project. Ready materials help build a reliable wooden gun rack.
Planning Your Gun Rack Design
Planning your gun rack design is the first step to a safe and organized display. Good planning helps you build a rack that fits your space and holds all your firearms securely. Think about your needs and your room before you start building.
Consider how many guns you have and what kind of style suits your space. A well-planned rack looks neat and keeps your guns easy to access. Let’s explore important points to plan your wooden gun rack.
Determining Size And Capacity
Measure the space where you want to place the rack. Note the height, width, and depth available. Count how many guns you want to store now and in the future. Leave extra space for more guns or accessories.
Make sure each gun has enough room. Avoid crowding to prevent damage. Think about spacing for different gun sizes. Proper size and capacity keep your guns safe and organized.
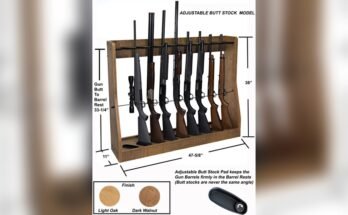
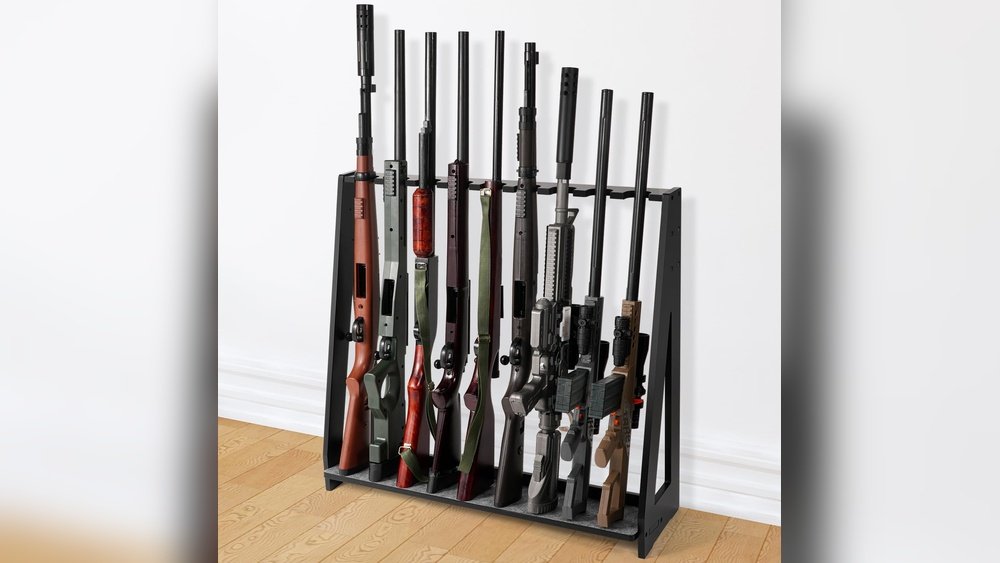
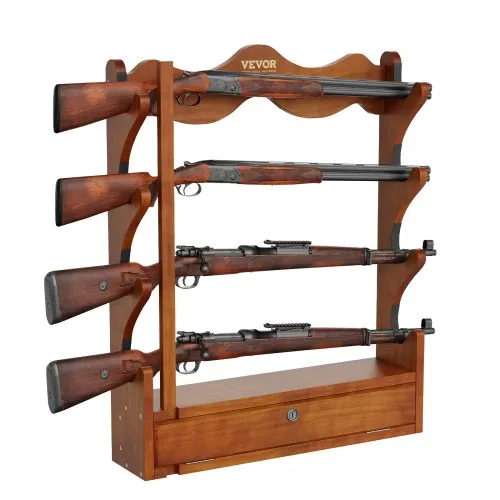
Selecting Style And Layout
Choose a style that matches your room and personal taste. Some racks hold guns vertically, others horizontally. Wall-mounted racks save floor space. Freestanding racks offer more storage options.
Decide if you want simple shelves or racks with slots. Slots keep guns from moving. Consider adding a lock for safety. Pick a style that fits your needs and looks good in your space.
Preparing The Wood
Preparing the wood is the first key step in building a wooden gun rack. It ensures the wood fits perfectly and looks smooth. Proper preparation makes your gun rack strong and safe to use. Follow simple steps to get the wood ready before assembly.
Cutting To Size
Start by measuring the wood pieces carefully. Use a pencil and ruler for accurate marks. Cut the wood to match your rack design. A handsaw or power saw works well. Cut slowly to avoid splinters and rough edges. Each piece must fit right to avoid gaps or weak spots.
Sanding And Finishing
Sand all wood surfaces with fine-grit sandpaper. Smooth edges and corners to prevent splinters. Sand in the direction of the wood grain for best results. After sanding, clean the dust with a damp cloth. Apply a finish like varnish or wood oil. This protects the wood and gives a nice look. Let the finish dry fully before building your rack.
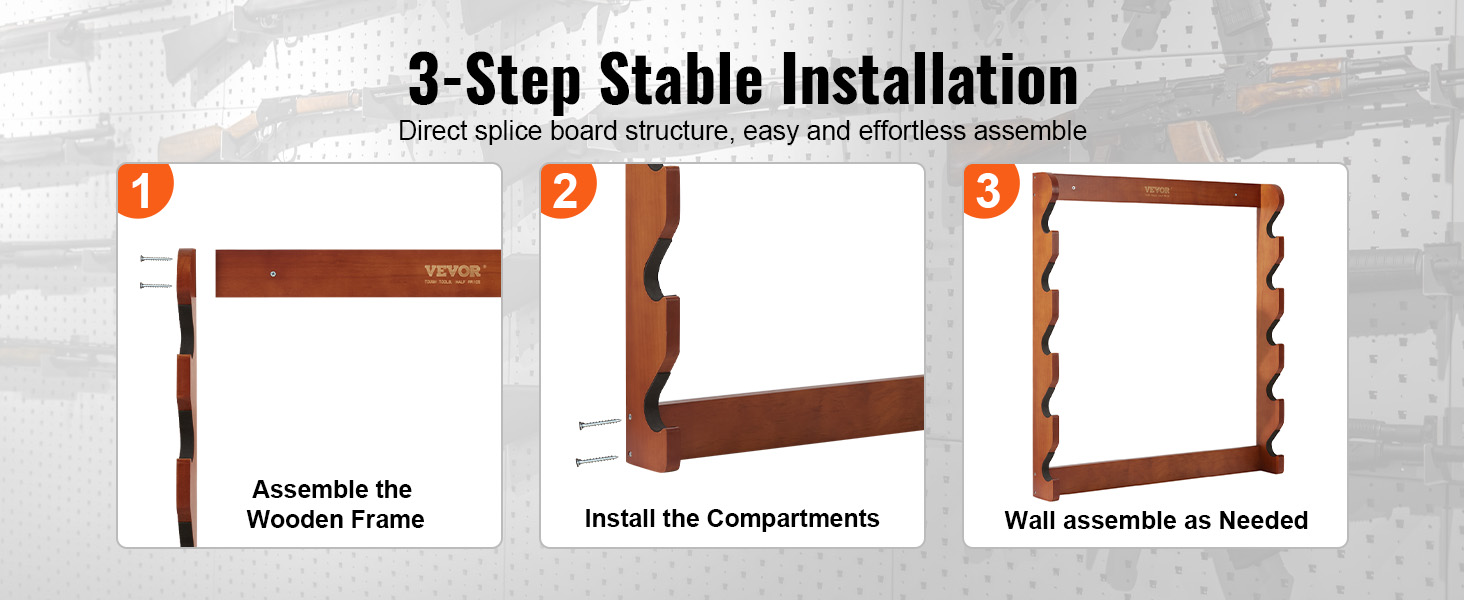
Assembling The Rack
Assembling the wooden gun rack is the step where all parts come together. This process shapes the final structure and ensures it holds your firearms safely. Follow the steps carefully for a sturdy and reliable rack.
Joining The Pieces
Start by laying out all wooden parts on a flat surface. Check that each piece matches the instructions. Use wood glue on the edges that join together. Press the pieces firmly to hold them in place. Clamp the sections to keep them tight while drying. This creates strong bonds between the wood parts.
Securing The Structure
Once the glue dries, reinforce the rack with screws. Drill pilot holes to avoid splitting the wood. Insert screws at key joints to add strength. Tighten screws but avoid overdriving them. Check the rack for any loose parts. Sand rough edges to make the rack smooth and safe to handle.

Mounting The Rack On The Wall
Mounting the wooden gun rack on the wall is a crucial step. It keeps your firearms safe and organized. Proper installation ensures the rack holds steady and supports the weight of your guns. Follow simple steps to secure it firmly to the wall.
Locating Wall Studs
Start by finding the wall studs. Studs are vertical wooden beams behind drywall. They provide strong support for heavy objects. Use a stud finder device for quick location. Move it along the wall until it beeps or lights up. Mark each stud with a pencil. Space between studs is usually 16 or 24 inches. Mount the rack brackets directly into these studs. This prevents the rack from falling or loosening over time.
Using Anchors And Screws
If studs are not in the right position, use wall anchors. Anchors hold screws tightly in drywall. Choose anchors rated for the weight of your rack and guns. Drill holes at marked points for the anchors. Insert anchors into the holes until flush with the wall. Screw the mounting brackets into the anchors. Tighten screws firmly but avoid overtightening. Test the rack’s stability before placing guns on it. Proper use of anchors and screws keeps the rack secure and safe.
Adding Safety Features
Adding safety features to your wooden gun rack is very important. These features protect your firearms and prevent accidents. Safety is the top priority for any gun owner. Simple steps can make your gun rack secure and reliable.
Locking Mechanisms
Use strong locks to keep your guns safe. Choose locks that are hard to pick or break. Key locks, combination locks, or padlocks work well. Secure the locking mechanism firmly to the wood. This stops unauthorized people from accessing your guns.
Install locks on cabinet doors or drawers if your rack has them. For open racks, add a locking bar or cover. Make sure the lock is easy for you to use but hard for others.
Padding And Protection
Soft padding protects the guns from scratches and damage. Use foam, felt, or rubber strips inside the rack. Place padding where the guns touch the wood. This keeps the finish of your firearms in good shape.
Padding also stops guns from moving or slipping. Secure the padding tightly so it stays in place. This simple step adds an extra layer of safety and care.
Maintaining Your Wooden Gun Rack
Maintaining your wooden gun rack is key to keeping it strong and looking good. A well-maintained rack lasts longer and keeps your guns safe. Regular care stops damage and wear from getting worse. Simple steps can make a big difference.
Regular Cleaning
Dust and dirt can build up on your wooden gun rack. Clean it often with a soft cloth. Use a dry or slightly damp cloth to wipe the surface. Avoid harsh chemicals that can harm the wood. Clean inside the slots and corners gently. Keeping the rack clean helps protect the wood and finish.
Checking For Wear And Damage
Look over your rack for cracks or loose parts regularly. Check the joints and screws to ensure they are tight. Watch for signs of wood splitting or warping. Early repair prevents bigger problems later. Fix small issues right away to keep the rack safe and sturdy.
Frequently Asked Questions
How Do I Choose The Right Wood For A Gun Rack?
Select sturdy hardwoods like oak, maple, or walnut. These woods offer durability and a polished look. Avoid softwoods that may dent easily. Proper wood choice ensures long-lasting support and enhances your rack’s appearance.
What Tools Are Needed To Install A Wooden Gun Rack?
You’ll need a drill, screws, a level, measuring tape, and a stud finder. These tools help ensure secure mounting and proper alignment. Having the right tools makes installation easier and safer.
How Do I Securely Mount A Wooden Gun Rack On The Wall?
Locate wall studs using a stud finder, then use screws to attach the rack firmly. Avoid drywall anchors for heavy racks to prevent accidents. Secure mounting keeps your firearms safe and stable.
Can I Customize The Wooden Gun Rack Design?
Yes, you can customize size, finish, and compartments to suit your needs. Personalization enhances functionality and matches your decor. Custom designs allow for better organization and a unique look.
Conclusion
Installing a wooden gun rack is simple and rewarding. Follow each step carefully for safety and stability. Choose the right spot on your wall before you start. Use the correct tools and materials to make it strong. Take your time to measure and secure every piece.
A good rack keeps your guns organized and easy to access. Enjoy your new rack as it adds both function and style. Keep safety in mind to protect your family and belongings. Now you have a clear plan to build your own wooden gun rack.