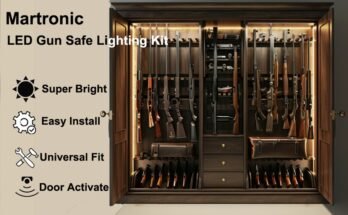
Are you struggling to brighten up the inside of your gun safe? Attaching LED strips to textured gun safe walls can be tricky, but it doesn’t have to be.
Imagine having clear, reliable lighting that makes finding your gear quick and easy, even in the darkest corners. In this guide, you’ll discover simple, effective ways to stick LED strips securely to those rough surfaces. Keep reading—you’re just a few steps away from transforming your gun safe into a well-lit, organized space that works for you.
Choosing The Right Led Strips
Choosing the right LED strips is key for lighting textured gun safe walls. The texture can make sticking the strips tricky. Picking strips with the right features helps them stick well and shine bright. This section explains types, brightness, color options, and durability of LED strips. Understanding these points helps you pick the best strips for your safe.
Types Of Led Strips
There are several types of LED strips. Single-color strips shine in one color only. RGB strips can change colors using a remote. Some strips have adjustable brightness levels. Flexible strips bend easily to follow textured walls. Rigid strips are stiff but offer strong light. Choose strips that match your safe’s shape and lighting needs.
Brightness And Color Options
Brightness is measured in lumens. Higher lumens mean more light. Choose brightness based on how bright you want your safe interior. Color temperature affects light mood. Warm white creates a cozy feel. Cool white gives a clear, bright look. Some LED strips allow you to change colors. Pick options that suit your style and use.
Waterproof And Durability Features
Durability matters for gun safe lighting. Some LED strips come with waterproof coatings. This protects strips from moisture and dust. Look for strips with strong adhesive backing. Extra adhesive helps strips stick to rough, textured surfaces. Silicone-coated strips resist damage better. Durable strips last longer and stay bright in tough conditions.
:max_bytes(150000):strip_icc()/SPR-hide-flaws-with-stipple-texture-4121027-9f4cff8a020a48ae980050be59a8f14f.jpg)
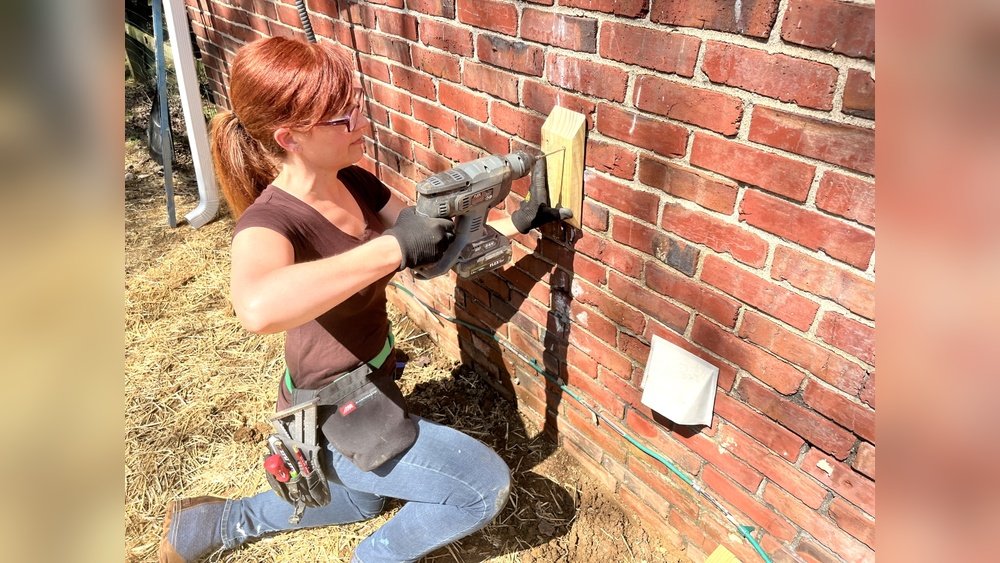
Preparing Textured Gun Safe Walls
Preparing textured gun safe walls is an important step before attaching LED strips. Proper preparation ensures the strips stick well and last long. Textured surfaces can be tricky, but with careful work, you can achieve a clean and even application.
Cleaning The Surface
Start by cleaning the walls thoroughly. Dust and dirt reduce the adhesive strength of LED strips. Use a soft cloth with rubbing alcohol or mild soap and water. Make sure to remove all grease and grime. Let the surface dry completely before moving on.
Smoothing Rough Areas
Textured walls often have bumps and rough patches. These can cause the LED strips to lift or break. Lightly sand the rough areas with fine-grit sandpaper. Focus on spots where you want to place the strips. Wipe away dust after sanding to keep the surface clean.
Measuring And Planning Placement
Measure the length of the gun safe walls carefully. Plan where to place the LED strips for the best lighting effect. Use a pencil to mark the spots lightly. This step helps avoid repositioning strips later, which can weaken the adhesive.
Adhesive Options For Textured Surfaces
Attaching LED strips to textured gun safe walls can be tricky. The uneven surface makes regular glue or tape less effective. Choosing the right adhesive helps keep the LED strips secure and neat. This section covers three good options for sticking LED strips on rough walls.
Strong Double-sided Tape
Strong double-sided tape works well on many surfaces. Look for tape labeled for textured or rough surfaces. It has a sticky side that grips bumps and grooves. Cut the tape to the length of the LED strip. Press it firmly against the wall for the best hold. This tape is easy to use and removes cleanly in most cases.
Mounting Clips And Brackets
Mounting clips and brackets give extra support. Clips clip around the LED strip and screw into the wall. They keep the strip tight and prevent sagging. Use small screws suitable for your safe’s wall material. This method is very secure and good for long strips. Clips are also reusable if you want to reposition the lights.
Using Adhesive Primers
Adhesive primers improve tape or glue grip on textured walls. Apply a thin layer of primer to the wall first. Let it dry completely before attaching the LED strip. Primers fill tiny gaps and make the surface smoother. This helps tape or glue stick stronger and last longer. It’s a great step for rough or painted surfaces.
Step-by-step Installation Guide
Installing LED strips inside a textured gun safe can brighten the space effectively. Follow this step-by-step guide for a neat and secure setup. Each step is simple and clear. This guide ensures your LED strips fit perfectly and stay in place.
Cutting Led Strips To Size
Measure the wall length inside your gun safe. Mark the LED strip at the nearest cutting point. Use sharp scissors or a utility knife to cut along the marked line. Cut only at the designated spots to avoid damage. Handle the strips gently to keep the lights working.
Applying Adhesive Properly
Clean the textured wall surface to remove dust and grease. Use a mild cleaner and let the wall dry fully. Peel off the backing from the LED strip’s adhesive tape carefully. For extra hold, apply a thin layer of strong adhesive or double-sided tape. Avoid excess glue to prevent mess.
Securing The Strips On Walls
Press the LED strip firmly against the textured wall. Start at one end and smooth the strip along the surface slowly. Use small clips or mounting brackets for added security on rough textures. Check the strip is flat and well attached. Let the adhesive cure for a few hours before use.
Power And Wiring Tips
Power and wiring are key to installing LED strips inside a textured gun safe. Good wiring keeps the lights working without any problems. Power supply choice affects how well the lights perform. Proper wire management keeps the safe neat and safe. Secure connections stop short circuits and fire hazards.
Choosing Power Supplies
Pick a power supply that matches your LED strip voltage. Most strips use 12V or 24V DC power. Check the total wattage of the LED strip. Choose a power supply with enough wattage to handle the load. A higher wattage supply works better and lasts longer. Use a reliable brand to avoid failures and flickering.
Hiding And Managing Wires
Keep wires tight against the safe walls. Use cable clips or adhesive mounts to secure wires. Run wires along corners or edges to hide them. Avoid loose wires that can catch or get damaged. Shorten wires to the right length for a clean look. Organize wires with zip ties or Velcro straps for easy access.
Ensuring Safe Connections
Use solder or quality connectors for strong wire joints. Avoid twisting wires together without a secure hold. Cover exposed wires with electrical tape or heat shrink tubing. Check all connections before turning on power. Test the LED strip to confirm stable lighting. Proper connections reduce risks of sparks and damage.
Maintenance And Longevity
Maintaining LED strips inside a textured gun safe keeps them working well longer. Regular care prevents damage and fading. Small efforts extend the light’s life and keep your safe bright.
Check the strips often. Clean dirt and dust gently. Fix any loose parts quickly. Replace broken sections to avoid bigger problems. These steps protect your investment and improve safety inside the safe.
Cleaning Led Strips
Turn off the LED strips before cleaning. Use a soft cloth or brush to remove dust. Avoid water or harsh cleaners. Mild rubbing alcohol works well on sticky spots. Clean strips stay bright and avoid damage.
Checking Adhesion Regularly
Look at the edges of the LED strips. Make sure they stick well to the textured walls. Press any loose parts back firmly. Use extra adhesive if needed. Strong adhesion stops strips from falling off or flickering.
Replacing Damaged Sections
Cut out broken or burnt parts carefully. Match the new section to the old strip. Connect wires or clips as shown in the instructions. Test the lights before final installation. Quick replacement keeps your safe well-lit and safe.
Frequently Asked Questions
How Do You Prepare Textured Walls For Led Strip Installation?
Clean the textured surface thoroughly using rubbing alcohol. Remove dust, oils, and debris. Ensure the wall is dry before applying LED strips for better adhesion.
What Adhesives Work Best On Textured Gun Safe Walls?
Strong double-sided tapes or mounting clips work well. Use industrial-grade adhesive tapes designed for uneven surfaces. Avoid weak glues that won’t hold on textured walls.
Can Led Strips Be Cut And Repositioned On Gun Safe Walls?
Yes, most LED strips can be cut at designated points. Use proper connectors to reattach strips. Reposition carefully to maintain lighting and avoid damage.
How To Avoid Led Strips Peeling Off Textured Surfaces?
Press strips firmly during installation and allow adhesive to set. Use additional mounting brackets if needed. Avoid touching strips for 24 hours after installation.
Conclusion
Attaching LED strips to textured gun safe walls takes some care. Clean the surface well before starting. Use strong adhesive or mounting clips for better hold. Press the strips firmly to avoid peeling. Plan the layout to keep wires neat and safe.
Proper lighting makes your safe easier to use. Small steps lead to great results. Bright, even light adds both style and function. Try these tips to brighten your gun safe today.