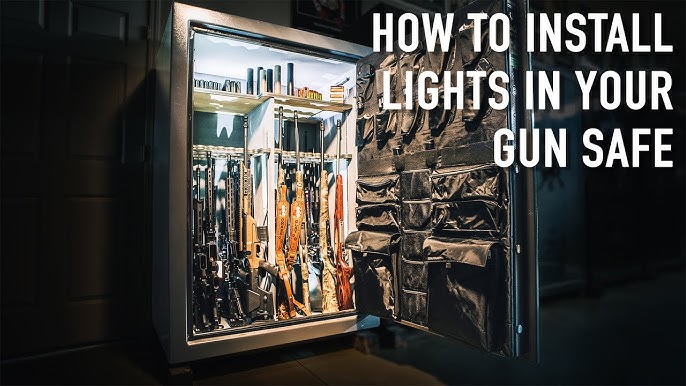
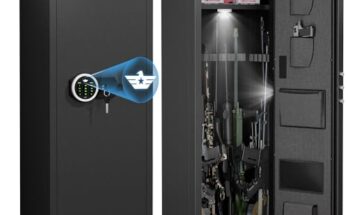
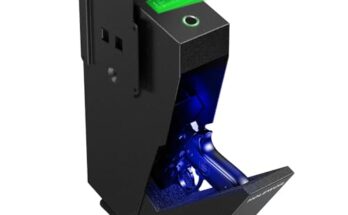
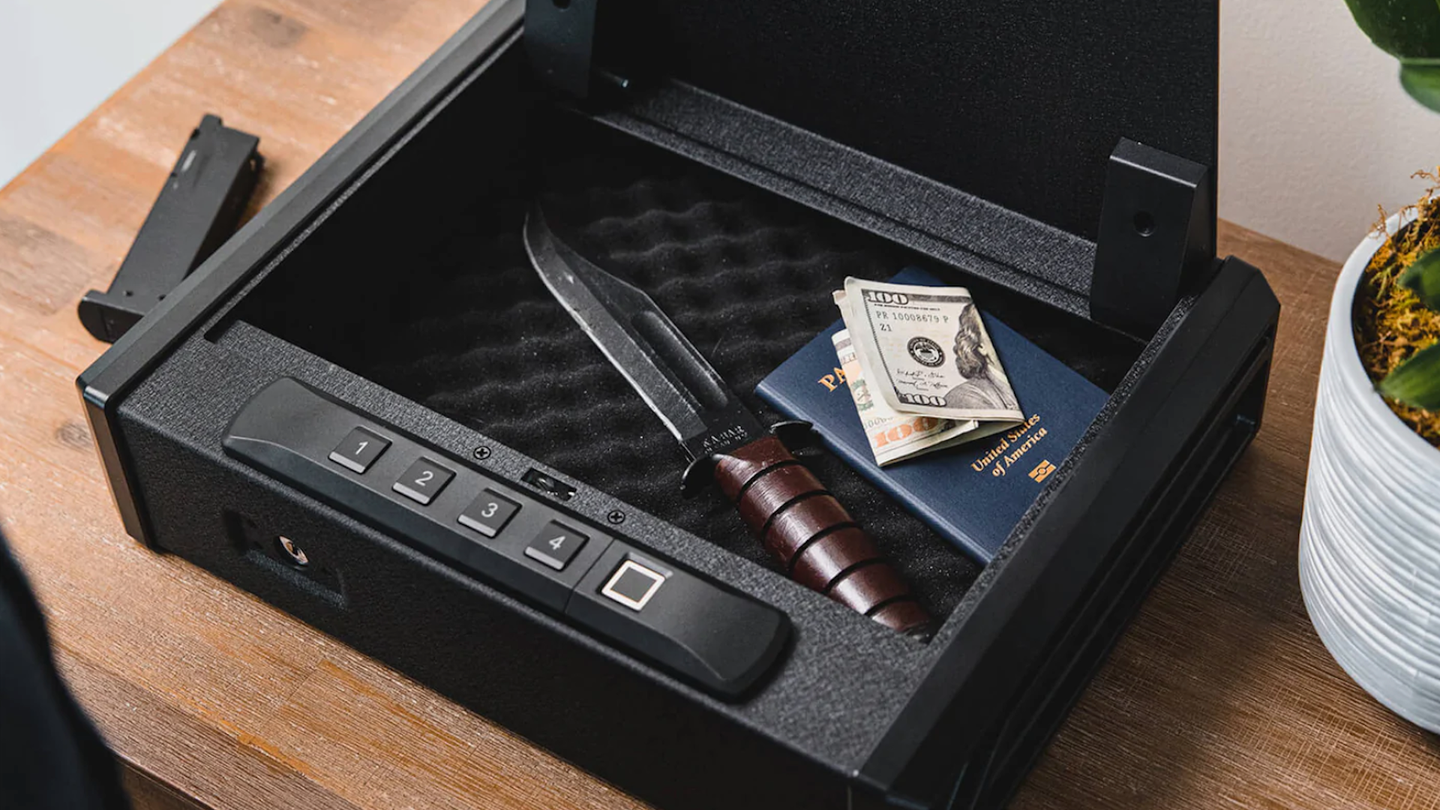
Installing lights in your gun safe is straightforward and beneficial. It helps you see your firearms and valuables better.
A well-lit gun safe ensures you find what you need quickly and safely. Whether it’s for security reasons or convenience, adding lights can make a big difference. You don’t need to be an expert to do it. With the right tools and steps, you can brighten up your gun safe in no time.
This guide will walk you through the process. You’ll learn what you need, where to place the lights, and how to install them properly. Get ready to enhance your gun safe with better visibility.
Choosing The Right Lights
Installing lights in your gun safe can greatly enhance visibility and security. But, choosing the right gun safe lights is crucial for effectiveness and longevity. In this section, we explore the different types of lights you can use in your gun safe.
Led Vs. Incandescent
LED lights are energy-efficient and long-lasting. They produce less heat, which is safer for your gun safe. LEDs come in various colors and brightness levels, allowing you to customize the lighting. They are also more durable than incandescent lights.
Incandescent lights are less efficient and have a shorter lifespan. They produce more heat, which may not be ideal for a gun safe. Incandescents are often cheaper, but they require more frequent replacements.
| Feature | LED | Incandescent |
|---|---|---|
| Energy Efficiency | High | Low |
| Heat Production | Low | High |
| Lifespan | Long | Short |
| Cost | Higher initial cost | Lower initial cost |
Battery Vs. Wired
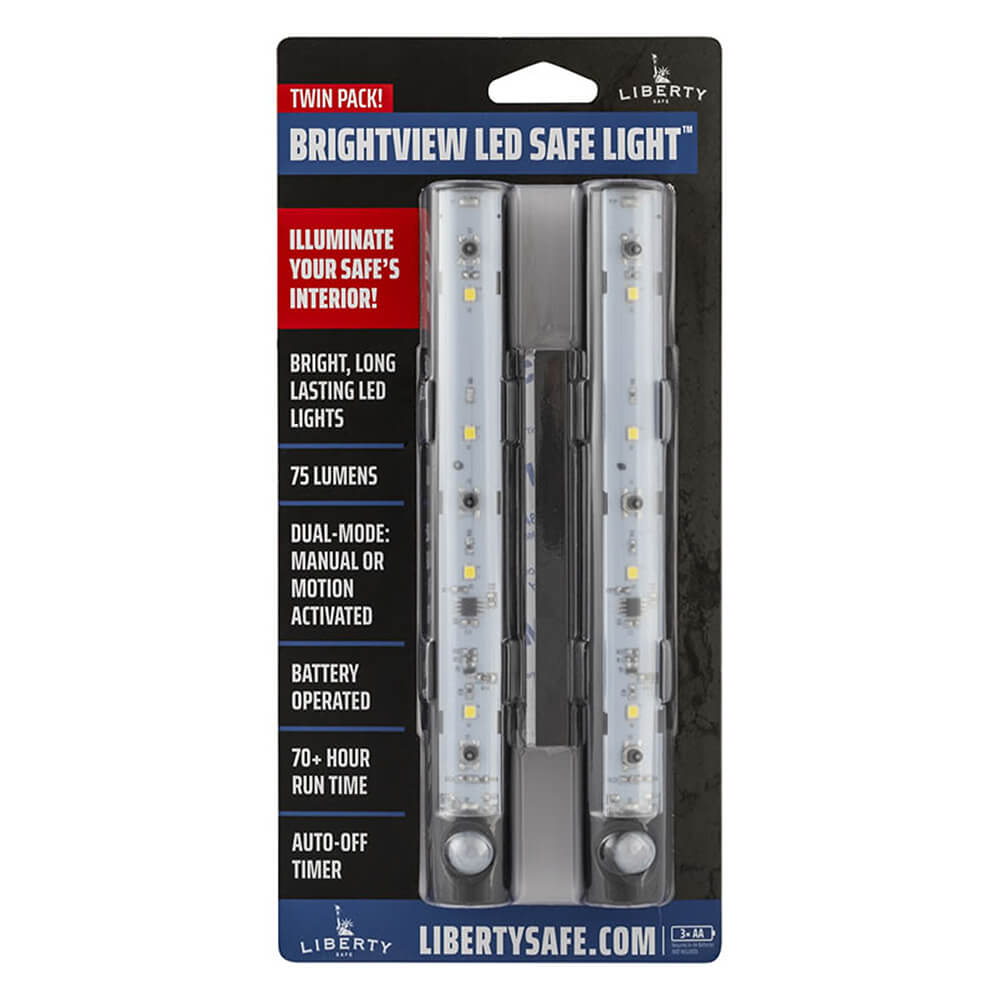
Battery-powered lights offer convenience and flexibility. They are easy to install since they don’t require wiring. Battery lights can be placed anywhere inside the safe. Their portability is a plus, but they require regular battery replacements.
Wired lights provide a constant power source. They are more reliable for long-term use. Wired lights need professional installation, but they eliminate the need for battery changes. They can be less flexible in terms of placement.
- Battery-powered lights: Easy installation, portable, requires battery changes.
- Wired lights: Reliable power, professional installation, fixed placement.
Choosing between these options depends on your needs and preferences. Consider the pros and cons of each type to make an informed decision.
Gathering Necessary Tools
Installing lights in your gun safe is a smart move. It improves visibility and adds a layer of convenience. Before you start, you need to gather all the necessary tools. This step is crucial for a smooth installation process. Let’s break it down into required and optional tools.
Required Tools
- Drill: A cordless drill works best for mobility.
- Drill Bits: Ensure you have the right sizes for your screws.
- Screwdriver: A Phillips head is usually needed.
- Measuring Tape: For accurate placement of the lights.
- Pencil: To mark positions for drilling.
- LED Light Strips: Choose strips that fit your safe’s dimensions.
- Power Source: Batteries or a plug-in adapter, based on your light choice.
Optional Tools
- Wire Clips: Helps in managing and hiding wires.
- Velcro Strips: For easy removal and repositioning of lights.
- Glue Gun: To secure loose wires or components.
- Zip Ties: Useful for bundling excess wires.
- Level: Ensures your lights are straight.
Having these tools ready will make your installation process quick and efficient. This preparation reduces the chances of errors, saving you time and effort.
Preparing The Safe
Before you install lights in your gun safe, it’s essential to prepare the safe. Proper preparation ensures a smooth installation process and the best lighting results. Follow these steps to get your safe ready.
Emptying The Safe
Start by emptying the safe completely. Remove all guns, ammunition, and other items. This ensures nothing gets damaged and you have enough space to work. Place these items in a secure location while you work.
Cleaning The Interior
Once the safe is empty, it’s time to clean the interior. Use a soft cloth or a vacuum to remove dust and debris from all surfaces. Pay special attention to corners and hard-to-reach areas. This step helps the lights stick better and provides a clean environment for installation.
| Step | Action |
|---|---|
| 1 | Empty the safe |
| 2 | Clean the interior |
By following these steps, you ensure your gun safe is ready for lighting installation. This preparation enhances the effectiveness and lifespan of your new lights.
Planning Light Placement
Installing lights in your gun safe can be a game-changer. It helps you find what you need quickly and keeps your items organized. Planning where to place the lights is crucial. It ensures that every corner of the safe is well-lit. This section will guide you through optimal light locations and how to avoid obstructions for the best lighting setup.
Optimal Light Locations
Choosing the right spots for your lights can make a big difference. Consider these optimal locations:
- Top of the Safe: Lights here can illuminate the entire interior.
- Sides of the Shelves: Placing lights along the sides can brighten up each level.
- Door Frame: Lights on the door frame can shine directly into the safe when opened.
Using these spots ensures that shadows are minimized and all areas are visible.
Avoiding Obstructions
When installing lights, avoid placing them where they can be blocked. Here are some tips:
- Avoid Corners: Lights in corners can be blocked by shelves or items.
- Mind the Door: Make sure the door does not block the lights when open.
- Clear Pathways: Ensure that the lights do not get covered by guns or other items.
By avoiding these common obstructions, you can maintain a clear and well-lit safe.
Installing Battery-powered Lights
Installing battery-powered lights in your gun safe can greatly improve visibility. This makes it easier to locate your firearms and valuables, even in low light conditions. In this section, we will walk you through the steps of installing these lights.
Mounting Techniques
Proper mounting is crucial for effective lighting. Here’s how you can do it:
- Adhesive Strips: Many battery-powered lights come with adhesive strips. Clean the surface where you plan to mount the lights. Peel off the backing and firmly press the light into place.
- Magnetic Mounts: Some lights have magnetic bases. These are ideal if your gun safe has metal surfaces. Simply place the light where you need it, and the magnet will hold it in place.
- Screws: For a more permanent solution, consider using screws. Use a drill to create small pilot holes. Then, screw the light fixture into the wall of the safe.
Battery Installation
Once your lights are mounted, the next step is to install the batteries:
- Open the battery compartment by sliding or unscrewing the cover.
- Insert the batteries, ensuring the positive and negative ends match the indicators inside the compartment.
- Close the battery compartment securely to ensure a good connection.
- Test the lights to make sure they turn on. If they don’t, check the battery orientation.
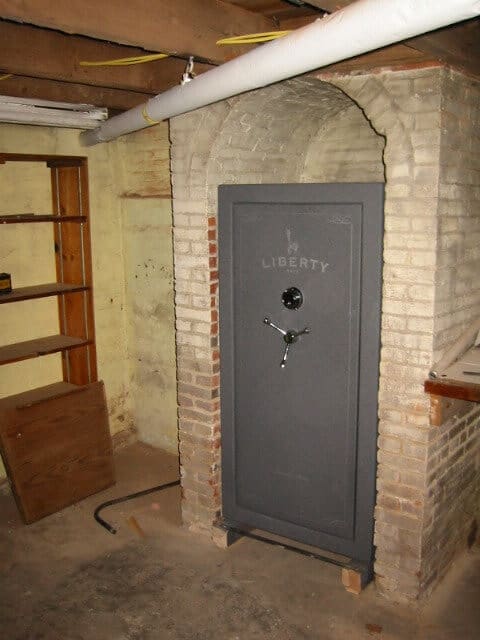
Using battery-powered lights is a simple and effective way to enhance the functionality of your gun safe. They are easy to install and provide reliable illumination.
Credit: gunsafereviewsguy.com
Installing Wired Lights
Installing wired lights in your gun safe can enhance visibility and make it easier to find your firearms. This guide will walk you through the steps needed to successfully install wired lights in your gun safe. The process involves drilling holes and running wires, which we will cover in detail below.
Drilling Holes
Drilling holes is the first step in installing wired lights. It allows you to run the electrical wires into your safe.
- Choose the location: Select a spot where the wires can enter without obstructing shelves or contents.
- Measure and mark: Use a measuring tape to mark the spots where you will drill.
- Drill carefully: Use a power drill with a metal drill bit. Drill slowly to avoid damaging the safe.
Ensure the holes are big enough for the wires but not too large. This will maintain the safety of your valuables.
Running Wires
Once the holes are drilled, the next step is running the wires. This ensures your lights receive power.
- Insert wires: Feed the wires through the drilled holes.
- Secure wires: Use cable clips or zip ties to secure the wires inside the safe. This prevents them from getting tangled.
- Connect to power: Attach the other end of the wires to a power source. Ensure the power is off during this step to avoid shocks.
Test the lights once everything is connected. Make sure they are working properly and illuminating the inside of the safe.
Securing The Lighting System
Securing the lighting system in your gun safe is vital for proper functionality and safety. A well-installed lighting system not only illuminates your safe but also adds convenience and accessibility. In this section, we will cover how to fasten the lights and hide the wires effectively.
Fastening Lights
Start by deciding the best spots to place your lights. Position them where they will illuminate the entire safe. Use adhesive-backed lights for easy installation. Clean the surface area inside the safe before applying the adhesive. This ensures a strong bond.
For a more secure installation, consider using screws or mounting brackets. This method is more durable and long-lasting. Follow these steps:
- Mark the spots where you want to place the lights.
- Drill small pilot holes for the screws or brackets.
- Screw the lights or brackets into place.
Ensure the lights are firmly attached and do not wobble. This will prevent them from falling or shifting.
Hiding Wires
Properly hiding the wires is crucial for a clean and professional look. Start by using cable clips or wire organizers. These tools keep the wires in place and prevent them from tangling.
Run the wires along the edges of the safe. This minimizes their visibility. Secure them with cable clips at regular intervals. If your lighting system requires a power outlet, drill a small hole in the back of the safe. This allows you to pass the wires through without leaving the door open.
Consider using wire covers or conduits for an even cleaner look. These covers protect the wires and make them blend with the safe’s interior. Follow these steps for an effective wire-hiding process:
- Measure the length of the wires.
- Cut the wire covers or conduits to the required length.
- Insert the wires into the covers or conduits.
- Secure the covers or conduits along the edges of the safe.
By following these steps, you ensure a neat and organized lighting system inside your gun safe. This enhances both functionality and appearance.

Credit: www.youtube.com
Testing And Adjusting
Installing lights in your gun safe can improve visibility and safety. The final step involves testing and adjusting the setup. This ensures the lights are working correctly and positioned optimally. Follow these steps to complete the process.
Testing The Setup
Start by turning on the lights. Check if all bulbs or strips illuminate. If any lights are not working, check the connections and power source. Ensure the power supply is stable.
Next, close the safe door and open it again. Observe if the lights turn on automatically. If you have motion-activated lights, confirm they respond to movement. If the lights fail, consider repositioning the motion sensor.
Making Adjustments
Once you confirm the lights work, adjust their positions. Ensure the illumination covers all areas inside the safe. Move the lights or add more if there are dark spots.
Check the light angles. Ensure they do not create shadows or glare. If necessary, tilt or reposition the lights. Secure them firmly to prevent shifting over time.
Finally, test the lights again with different items in the safe. Ensure the illumination remains consistent. Make further adjustments as needed.
Credit: www.deansafe.com
Frequently Asked Questions
What Tools Do I Need To Install Lights?
To install lights in your gun safe, you need a drill, a screwdriver, adhesive strips, and a measuring tape.
Are Led Lights Good For Gun Safes?
Yes, LED lights are ideal for gun safes. They are energy-efficient, bright, and have a long lifespan.
Where Should I Place Lights In My Gun Safe?
Place lights on the interior top and sides. This ensures even illumination and helps you see all contents clearly.
How Do I Power Lights In My Gun Safe?
You can power lights using batteries or by connecting to an external power source through a pre-drilled hole.
Conclusion
Installing lights in your gun safe enhances visibility and security. With these steps, your guns and valuables will be easy to find. A well-lit gun safe also helps in emergencies, saving time. Remember to choose appropriate lights for best results.
Now, you can safely access your items even in the dark. Happy safe lighting!
