For a flawless gun safe painting job, prepare the surface properly and use paint that adheres to metal. Select a well-ventilated area to work in and wear protective gear.
Painting a gun safe not only adds to its aesthetic appeal but also provides an extra layer of protection against rust and wear. Before you embark on this task, understanding the best practices can make the difference between a professional-looking finish and a subpar job.
It’s essential to choose the right type of paint – one that’s designed for metal surfaces and can withstand the unique conditions that safes are exposed to. Prepping the surface by cleaning it thoroughly and applying a primer are key steps that ensure the paint adheres well and looks smooth. Safety is paramount, so equip yourself with protective eyewear, masks, and gloves. By following these tips, you’ll enhance your gun safe with a durable and attractive finish.
Essential Preparation Measures
Before making a gun safe stand out with a fresh coat of paint, taking the right preparation steps is key. Perfect preparation guarantees impressive results and long-lasting finish. Here, we delve into the critical preparation measures to ensure a successful paint job.
Surface Cleaning Fundamentals
Starting with a clean surface is crucial.
Begin by removing all dust and grease. Wipe the surface with a damp cloth. Then, use a degreaser for a deep clean. This will help the primer and paint adhere better. Always wear gloves to protect your hands. Let the surface dry completely before moving to the next step.
Choosing The Right Primer
Choosing the right primer is essential.
Use a rust-inhibitive primer for metal surfaces. This type of primer prevents rust. Pick a primer suitable for metal. It ensures better paint adhesion. Apply the primer with a brush or a sprayer. Give enough time for the primer to dry. Follow the manufacturer’s instructions for the best results.

Credit: vaneselectric.com
Selecting Your Paint
When it’s time to give your gun safe an upgrade, selecting the right paint is key. The paint you choose impacts not only the look but also the durability of your safe. Let’s dive into what kind of paint best suits a gun safe, focusing on longevity and aesthetic appeal.
Types Of Paint For Durability
Long-lasting protection for your gun safe starts with the right type of paint.
- Oil-based paints: Resistant to chipping, good for metal surfaces.
- Epoxy paints: Offer a hard finish and superior durability.
- Automotive paints: Designed for metal, they stand up to harsh conditions.
Consider rust-inhibitive primers as a foundation. They help prevent corrosion.
Color Schemes And Finishes
Choosing a color is more than just picking a shade. Think about the safe’s environment.
| Finish Type | Pros | Cons |
|---|---|---|
| Gloss | Easy to clean, looks new longer. | Shows imperfections. |
| Semi-Gloss | Some sheen, less showing of flaws. | Can still be reflective. |
| Matte | Hides blemishes, non-reflective. | Can be harder to clean. |
Mixing dark colors with a semi-gloss finish often works well. Brighter colors may benefit from a matte finish to reduce glare.
Tools Of The Trade
Before transforming your gun safe with a fresh coat of paint, gather the proper tools for a smooth and efficient job. Selecting the right equipment will assure a professional finish that’s both durable and eye-catching. Let’s delve into the ‘Tools of the Trade’ that will help you achieve the best results.
Brushes, Sprayers, And Rollers
Brushes: Ideal for detailed work and touch-ups. Look for synthetic bristle brushes for water-based paints or natural bristles for oil-based options.
- Small brushes for tight spaces
- Angle brushes for corners
Sprayers: Perfect for a uniform coat over the entire surface. They make the process quicker.
- Airless paint sprayers for thick paints
- HVLP (High Volume Low Pressure) for precision
Rollers: Best for large flat areas. They provide even coverage and a smooth finish.
- Foam rollers for smooth surfaces
- Nap rollers for textured surfaces
Safety Gear And Workspace Setup
Safety Gear: This is non-negotiable to protect yourself from harmful fumes and spills.
- Respirator masks for ventilation
- Goggles for eye protection
- Gloves to shield your hands
Workspace Setup: A well-prepared space ensures a safe and unobstructed workflow.
- Cover floors and nearby objects with drop cloths
- Ensure good lighting to spot any missed areas
- Keep paint thinner and cloths ready for quick cleanups
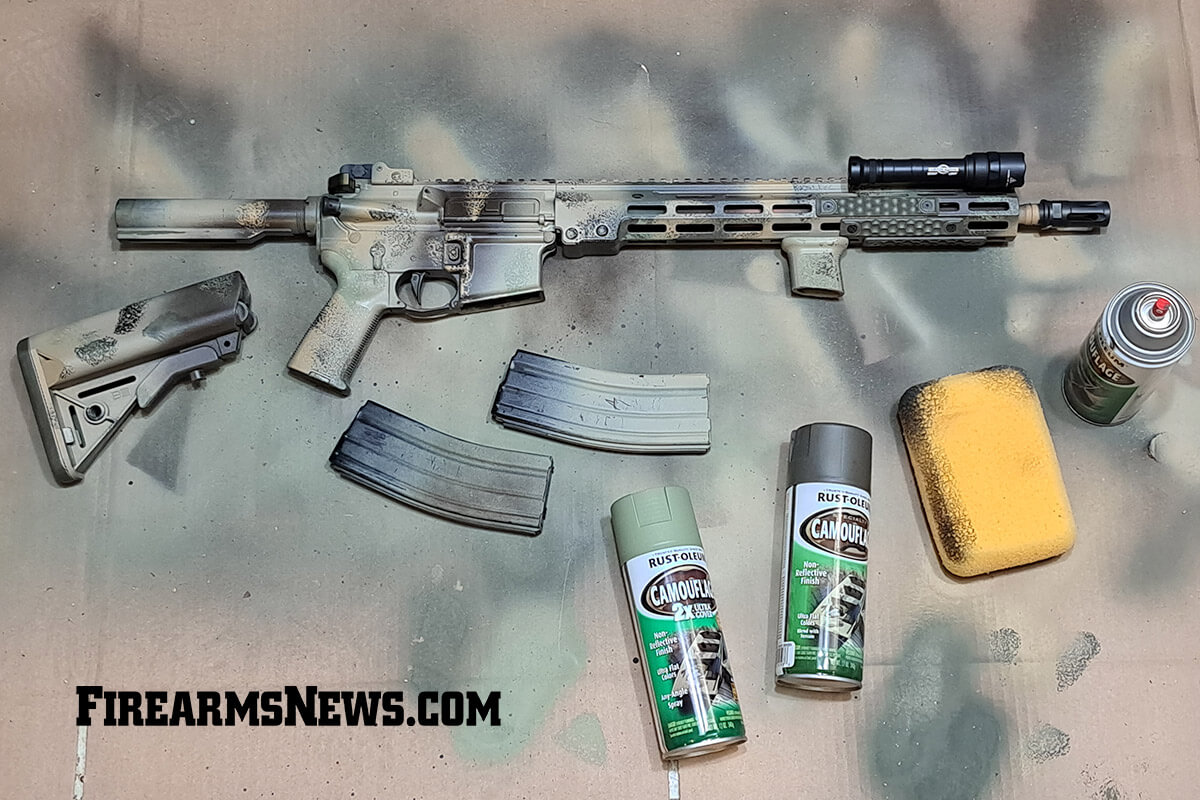
Credit: www.firearmsnews.com
Applying The Paint
Now that you’ve prepped your gun safe, it’s time to dive into applying the paint. A fresh coat can be about more than just aesthetics; it’s a layer of protection against rust and corrosion. Keep these points in mind and your gun safe will look as good as new.
Techniques For Even Coats
Even coats are key to a professional-looking finish. Here’s how to achieve them:
- Choose the right paint: Use paint suited for metal surfaces.
- Use a primer: It helps paint stick and stay smooth.
- Best tools for the job: Spray guns or paint rollers ensure uniformity.
- Apply multiple light layers: Let each dry before adding the next.
- Keep a consistent distance: If spraying, stay about 10 inches away.
Avoiding Drips And Blemishes
To prevent drips and blemishes, follow these tips:
- Don’t rush the process: Paint in a patient, controlled manner.
- Check the environment: Avoid painting in damp or dusty settings.
- Correct mistakes quickly: Wipe away drips before they dry.
- Purchase quality paint: Higher quality leads to smoother application.
- Inspect as you go: Regularly look for spots you’ve missed or runs.
Adding A Personal Touch
Adding a personal touch to your gun safe can transform it from a mere storage box to a reflection of your unique style. Tailoring your safe with custom decals and ensuring its appearance lasts through the years with proper sealing are excellent ways to achieve this personalization. Let’s explore how you can accomplish these enhancements.
Custom Decals And Designs
Adding custom decals to your gun safe gives it character and sets it apart. Here are some ideas:
- Vinyl Decals: Easy to apply and available in various designs.
- Stencils: Paint your favorite patterns or symbols with a stencil.
- Hand Painting: Showcase your artistic skills with a unique touch.
Be sure to clean your safe’s exterior before applying so that these decorations adhere properly.
Sealing For Longevity
Once your gun safe bears your personal touch, protect it:
- Choose the right sealant: Opt for a clear, protective spray or brush-on sealer.
- Apply evenly: Cover every inch of your design to prevent peeling and flaking.
- Allow proper drying time: Patience ensures a durable finish that lasts for years.
Regular maintenance checks can keep your design looking fresh and vibrant over time.

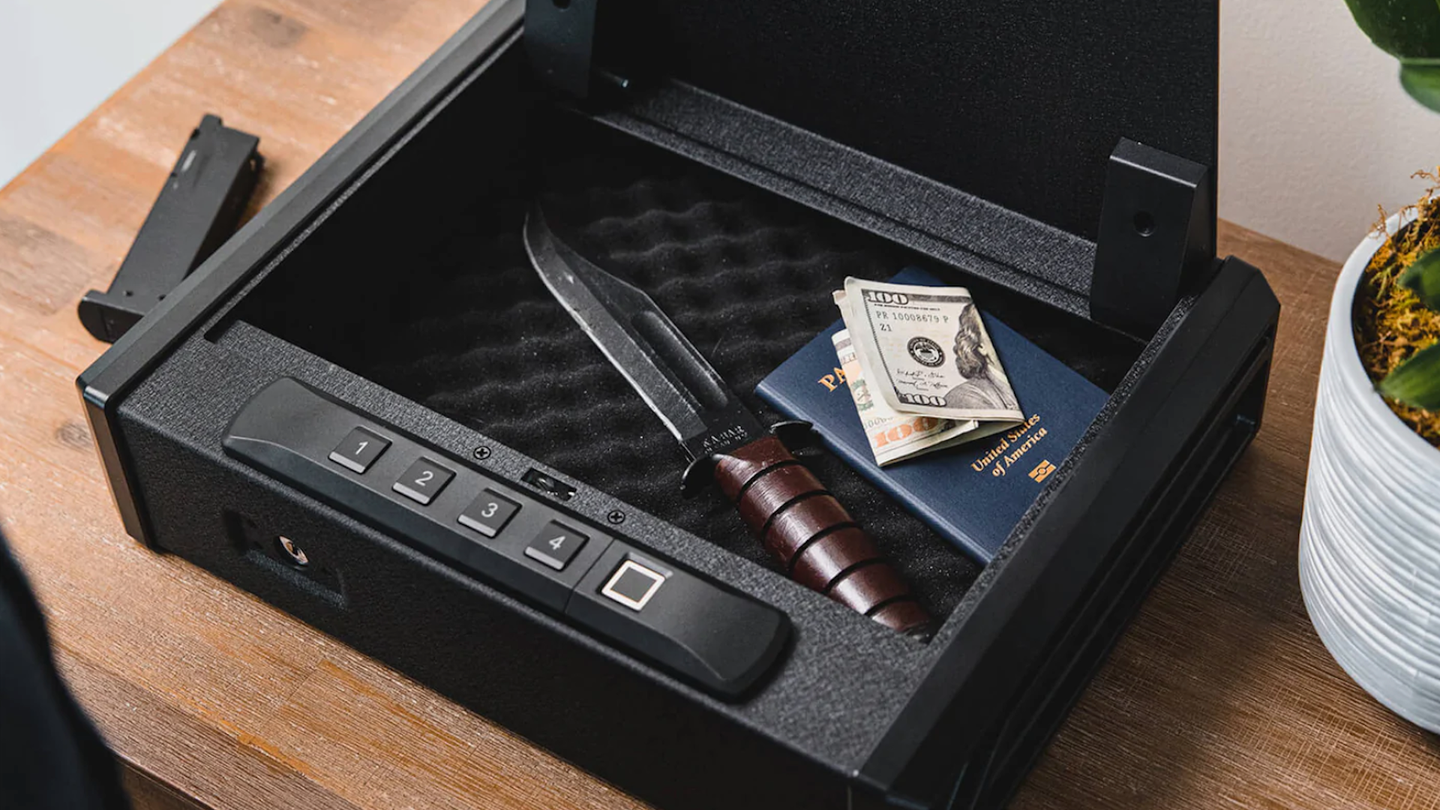
Credit: www.nytimes.com
Maintenance Post-painting
Once your gun safe boasts a fresh coat of paint, keep it in tip-top shape. Regular maintenance can make your safe look great for years. Embrace these easy steps to maintain the beauty and integrity of your freshly painted gun safe.
Cleaning Your Newly Painted Safe
Clean gently to protect your safe’s new finish. Use these methods:
- Soft Cloth: Wipe down with a microfiber cloth.
- Mild Detergent: Mix with water for stubborn spots.
- Avoid Harsh Chemicals: They can damage the paint.
- Regular Dusting: Keeps the surface shiny and smooth.
Touch-up Strategies
Sometimes, scratches or chips happen. Quick touch-ups can prevent the need for a complete repaint.
- Identify imperfections quickly.
- Use leftover paint for consistency.
- Small brush or Q-tip for precision.
- Apply thin layers; let dry between coats.
- Seal with a clear topcoat for durability.
Frequently Asked Questions On Best Tips To Paint A Gun Safe
What Paint To Use For Gun Safe?
Use a durable, non-flammable paint for gun safes, like an oil-based enamel or a high-quality epoxy paint. Choose a rust-resistant finish to ensure long-term protection.
How Do You Paint A Metal Safe?
Clean the metal safe thoroughly, removing any rust, dirt, or grease. Apply a rust-inhibiting primer for metal surfaces. Once dry, coat with high-quality metal paint using a brush or sprayer. Allow to dry completely between coats. Seal with a clear protective finish if desired.
How Do You Paint An Old Safe?
To paint an old safe, clean its surface and remove rust. Apply a primer designed for metal. Once dry, use a spray paint or brush to apply an even coat of metal-appropriate paint. Finish with a clear sealant for protection.
Allow adequate drying time between steps.
What Is The Best Paint For Gun Metal?
The best paint for gun metal is a high-quality, durable epoxy or enamel spray paint, designed specifically for firearms and metal surfaces. Choose a product with rust prevention for optimal protection.
Conclusion
Wrapping up, securing a pristine paint job on your gun safe is straightforward. Remember to select the right primer, paint, and tools. Embrace patience during drying times. Your safe’s new look not only refreshes its aesthetic but also boosts its lifespan.
Start your DIY project today, and enjoy a personalized, well-protected safe.