To install gun safe lights, first, select your lighting kit, and secure the lights inside the safe using adhesive backing or screws. Next, run the power cord to a nearby outlet or insert batteries if required.
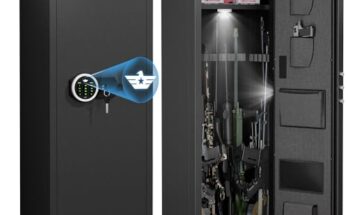
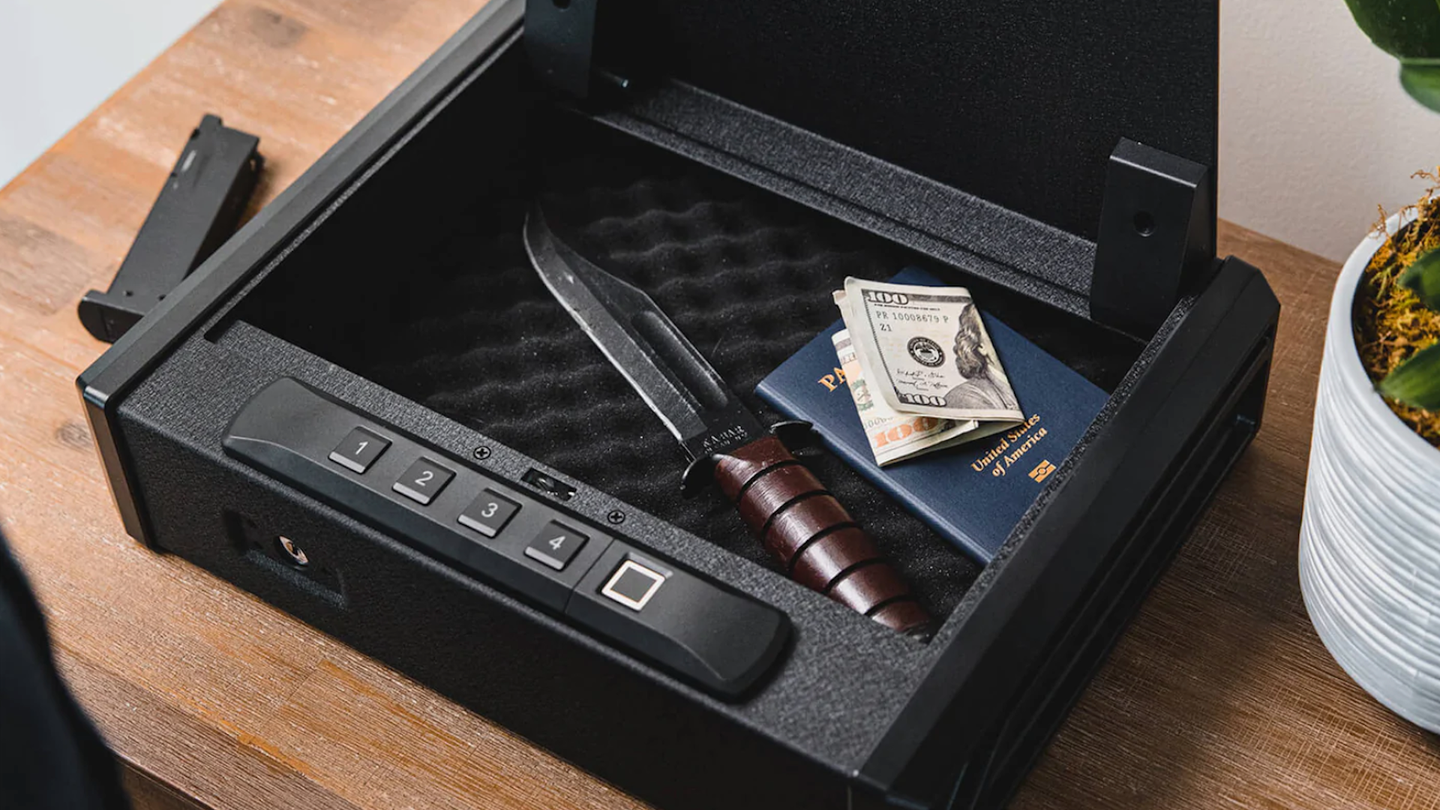
Enhancing your gun safe with adequate lighting not only provides visual convenience but also adds an extra layer of security for quick and safe access to your firearms. Proper illumination can drastically improve visibility, allowing for easy identification and retrieval of items, especially under urgent circumstances or in low-light conditions.
Installing lights inside a gun safe is a straightforward DIY task that can be accomplished with minimal tools and no specialized technical skills. This practical addition is essential for any gun owner looking to maintain an organized and efficient space for their valuable equipment.
Essentials Of Gun Safe Lighting
Welcome to the ‘Essentials of Gun Safe Lighting’—a key feature often overlooked by many owners.
Ensuring your gun safe is well-lit not only enhances visibility but also improves the safety and functionality of your secure storage.
Installing lighting in your gun safe can transform your experience, making it easier to identify and retrieve items quickly.
Benefits Of Properly Lit Safes
Effective lighting in a gun safe offers several advantages:
- Improved Visibility: Quickly locate and access firearms or valuables without fumbling in the dark.
- Enhanced Safety: Clear sight reduces the risk of accidents when handling weapons or delicate items.
- Deterrent of Moisture: Some lighting options can help reduce humidity, a common issue in closed spaces.
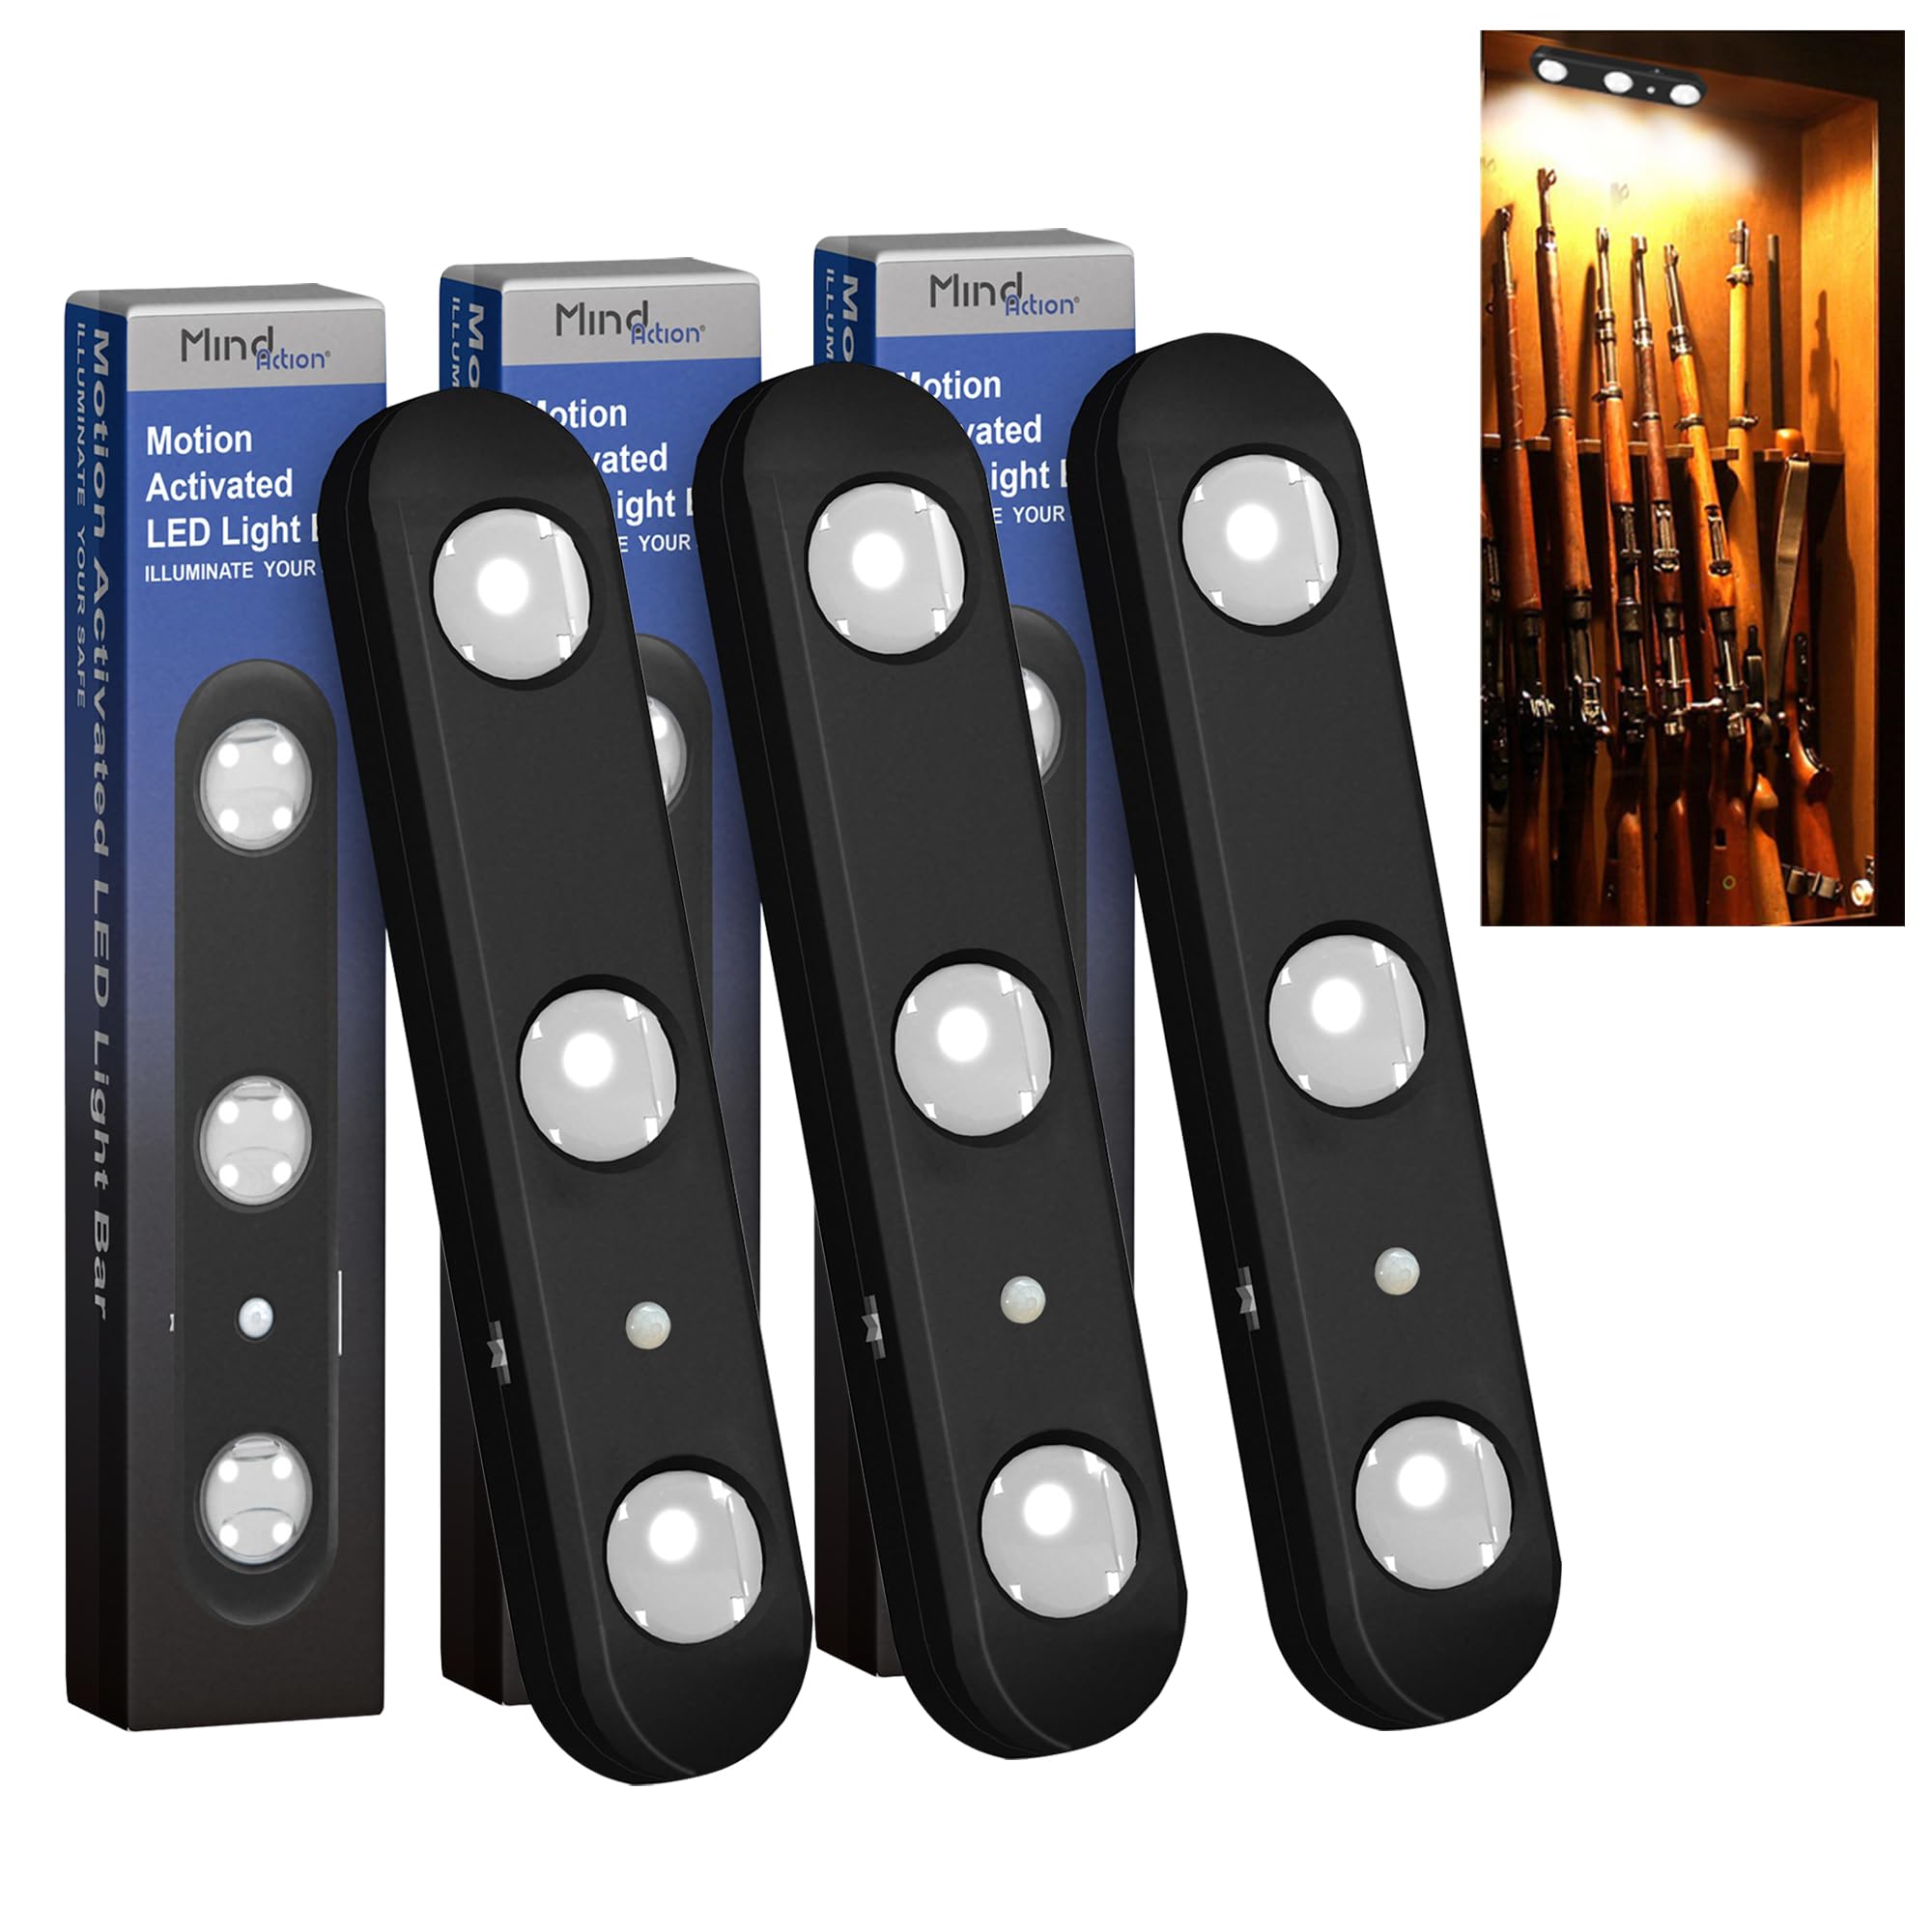
Types Of Lights Suitable For Gun Safes
Selecting the right type of light is crucial for efficiency and convenience. Here are options that work best:
| Light Type | Features |
|---|---|
| LED Lights | Energy-efficient, long-lasting, and emit minimal heat. |
| Compact Fluorescents | Economical, with a larger size than LEDs. |
| Motion Sensor Lights | Illuminate instantly upon detection of movement; convenient and energy-saving. |
| Battery-Powered Lights | No wiring needed, easy to install and maintain. |

Credit: www.amazon.com
Before You Start: Preparation Steps
Excited about adding lights to your gun safe? Great! Before diving into the installation, taking the right preparation steps is crucial. It will ensure a smooth process and a safe installation. Let’s gather what’s needed and consider safety to get started right.
Gathering The Necessary Tools And Materials
Finding the right tools and materials is the first step towards a successful install. You don’t want to be running around looking for something in the middle of the process. Here’s a list to keep you organized:
- LED lighting kit: Your main component.
- Screwdriver: For mounting brackets or screws.
- Wire strippers: For any necessary wiring tasks.
- Adhesive strips or Velcro: If you prefer a no-drill install.
- Battery pack or power source: To power the lights.
- Clean cloth: To wipe down surfaces before installation.
Safety Considerations
Safety must be your top priority. Even a simple task like installing gun safe lights can lead to accidents without proper care. Ensure you:
- Turn off the power: Before any electrical work, if connected to a power source.
- Handle tools with care: Keep tools away from children and use them properly.
- Secure the safe: Make sure the safe won’t tip over during the install.
- Wear protective gear, if needed: This could include gloves or eye protection.
- Read the manual: Your lighting kit manual has important information on safety and handling.
With everything in place and safety checked off, you’re ready to move on to the actual installation. Enjoy brightening up your safe space!
Choosing The Right Lights For Your Safe
Securing a gun safe involves more than just a solid lock. Proper lighting enables clear visibility, deterring accidents and ensuring ease of access. Whether you’re a recreational shooter or a professional, choosing the right lights is crucial for the safety and functionality of your gun safe. Let’s explore the ideal options.
Led Options And Benefits
LED lights are a popular choice for gun safes due to their longevity and energy efficiency. They produce minimal heat, reducing the risk of damaging your firearms. Key benefits of LED lighting include:
- Durability: Resistant to shocks and vibrations.
- Low Power Consumption: Draws less electricity, ideal for safes.
- Extended Lifespan: Lasts longer than traditional bulbs.
Battery Operated Vs. Hardwired
When installing lights inside your gun safe, consider the power source. Your two main choices are:
| Battery Operated | Hardwired |
|---|---|
| Portable and easy to install | Reliable, with no need for battery replacement |
| May be less bright over time | Requires professional installation |
Select based on your safe’s location and access to power outlets.
Considering Brightness And Color Temperature
Two major elements that affect the functionality of your gun safe lighting are:
- Brightness: Measured in lumens; higher lumens mean more light.
- Color Temperature: Measured in Kelvins (K); choose warmer tones for less glare.
Aim for a balanced brightness that illuminates without causing discomfort. Soft white or daylight bulbs are recommended for the best visibility and contrast without harshness.
Credit: www.deansafe.com
Step-by-step Installation Guide
Welcome to your guide on installing gun safe lights! With the right tools and instructions, you can enhance your gun safe with efficient lighting. These steps will ensure a successful installation. Let’s get started!
Mounting the Light FixturesMounting The Light Fixtures
Choosing the perfect spot to mount your light fixtures is crucial. Follow these tips:
- Clean the mounting area inside the safe.
- Use the provided template to mark drill spots.
- Drill holes and secure the light fixtures.
Routing The Wires
Proper wire routing is key to a tidy installation. Save yourself future hassle with these steps:
- Run wires along corners or existing grooves.
- Use wire clips to keep them in place.
- Avoid wire exposure to prevent accidental damage.
Connecting To Power Source
It’s time to give your lights the power they need. Make the connection with these simple actions:
| Step | Action |
|---|---|
| 1 | Identify the power source in your safe. |
| 2 | Connect wires to the corresponding terminals. |
| 3 | Ensure all connections are secure and insulated. |
Testing Your Installation
Before you finish, a proper test ensures everything works well. Perform these checks:
Enhancing Gun Safe Visibility
Proper lighting inside your gun safe not only highlights your collection but also enables you to locate items quickly and safely. A well-lit safe deters accidents and improves organization. Whether it’s day or night, optimal lighting ensures ease of access and peace of mind. Follow this step-by-step guide to illuminate your safe effectively.
Optimal Placement Of Lights
Strategic positioning of lights inside your gun safe makes all the difference. Here’s how to ensure the best placement:
- Top Shelves: Install lights to illuminate the upper areas without casting shadows.
- Sides and Corners: Angle lights towards dark corners to eliminate blind spots.
- Door Frame: Consider LED strips along the door frame for a clear view when open.
Remember, aim for a uniform glow that covers every inch without being too harsh on the eyes.
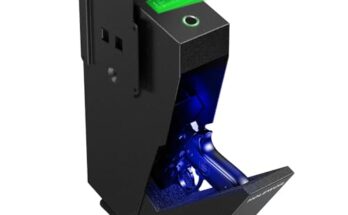
Using Motion Sensors
Convenience meets functionality with motion sensors. See the benefits they offer:
- Hands-Free Operation: Lights turn on as you open the safe, allowing immediate visibility.
- Energy Efficiency: Save power as lights shut off when not needed, extending battery life.
- Stealthy Access: Keep low visibility in your room while the safe interior is well-lit.
Installing motion-activated lights is a smart choice for any gun safe owner.
Adding Extra Features For Convenience
| Feature | Benefit |
|---|---|
| Remote Control | Adjust lights from afar, customizing brightness as needed. |
| Battery Back-Up | Keep lights on during power outages, maintaining access. |
| USB Ports | Charge devices or power accessories directly from your safe. |
Add these features to heighten convenience and functionality within your gun safe.
Maintaining Your Gun Safe Lighting System
Proper maintenance of your gun safe lighting system is crucial. It enhances visibility and extends the life of the lights. Follow these steps to ensure your lighting system remains in top condition.
Regular Cleaning Tips
- Turn off the lights before cleaning.
- Use a dry microfiber cloth to wipe down surfaces.
- For tougher grime, apply a mild soap on the cloth.
- Never spray liquid directly onto the light fixtures.
- Avoid harsh chemicals that can damage the lights.
- Ensure all components are dry before turning the lights back on.
Changing Batteries Or Bulbs
- Identify if your system uses batteries or bulbs.
- For battery systems, ensure you have the correct replacements.
- Unscrew the light compartment carefully.
- Replace batteries or bulbs with new ones.
- Test the lights to confirm they work.
Troubleshooting Common Issues
| Issue | Solution |
|---|---|
| Lights not turning on | Check power source and replace batteries or bulbs if needed. |
| Flickering lights | Ensure bulbs are screwed in tight and battery contacts are clean. |
| Dim lights | Replace with new batteries or bulbs and clean fixture lenses. |

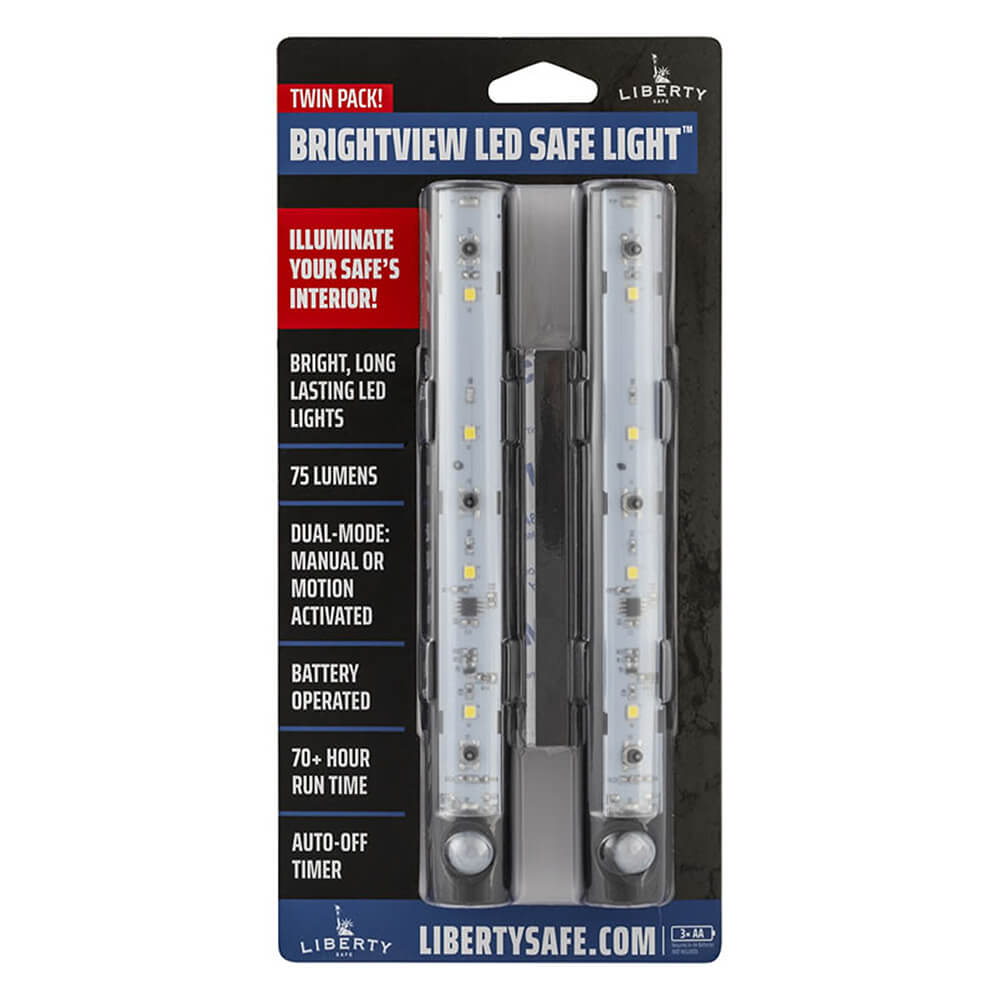
Credit: www.libertysafe.com
Frequently Asked Questions For How To Install Gun Safe Lights A Step By Step Guide
How Do You Install Led Lights?
To install LED lights, start by switching off the power. Select your placement area, clean it, then peel the adhesive backing off the LED strip. Firmly press the strip into place, ensuring it’s straight. Connect to the power source and turn on to test.
How Do I Connect Led Lights To My Power Supply?
To connect LED lights to a power supply, first, ensure the power supply matches the LED voltage requirements. Turn off the power, connect the LED’s positive lead to the power supply’s positive output, and the negative lead to the negative output.
Then, safely turn on the power supply.
How Are Led Lights Wired?
LED lights connect through series or parallel circuits, with power sourced from a driver transforming AC to DC voltage. Wired directly, positive leads to positive, and negative to negative.
Can You Put A Light Bulb In A Gun Safe?
Yes, you can install a light bulb in a gun safe, but ensure it’s designed for use in confined spaces and doesn’t generate excessive heat to prevent fire hazards.
Conclusion
Equipping your gun safe with proper lighting is essential for visibility and security. Following the steps outlined in our guide, you can achieve a well-lit storage for your firearms with ease. Remember, regular checks and maintenance will ensure your gun safe lights function reliably for years.
Install confidently; your valuables deserve the spotlight.