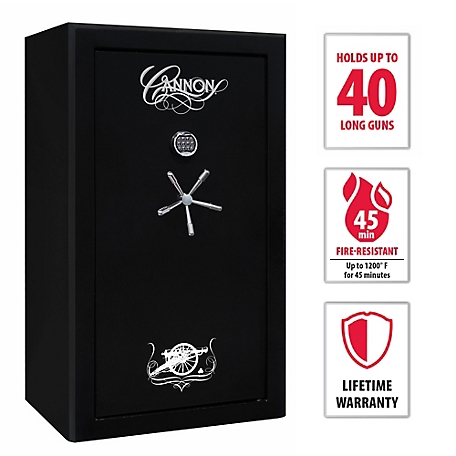
To remove the door of a Cannon gun safe, first, ensure the safe is unlocked and open. Then, find and engage the release mechanism typically located on the door’s inside hinge side.
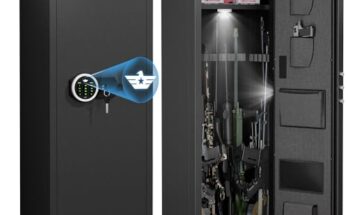
Owning a Cannon gun safe provides a sense of security and peace of mind for gun owners, knowing that their firearms are stored safely. Yet, there may come a time when you need to remove the safe’s door, whether for maintenance, to relocate the safe, or to address a malfunction.
The process, while not overly complicated, requires precision and understanding of the safe’s design. It’s important to handle the door with care due to its weight and to prevent any damage to the locking mechanisms. By following the right procedures, you can successfully remove the door without compromising your safe’s structural integrity or security features. This task, though not frequently needed, is essential knowledge for any Cannon gun safe owner.

Credit: www.amazon.com
Why Remove Your Cannon Gun Safe Door?
At times, removing the door of your Cannon gun safe is a must. Contemplating door removal? You might face space constraints, or it’s repair time. Let’s unlock this mystery and simplify the process.
Space And Mobility Issues
Moving your safe through narrow passages? Door removal aids greatly. It reduces the size and weight, making maneuvering smoother. Imagine transferring it upstairs or through slim doorways. Without the door, it’s a breeze.
Maintenance And Repair Necessity
Daily usage can lead to wear and tear. Maintenance can’t be overlooked. Need to fix the locking mechanism? Taking off the door provides clear access. It simplifies replacing parts and lubricating gears for a flawless operation.

Credit: www.amazon.com
Preparation Steps For Removal
Ready to remove the door of your Cannon gun safe? It’s crucial to prepare properly.
Follow these preparation steps to ensure a smooth and safe door removal.
Gather Necessary Tools
Gear up with the right tools before you start.
- Screwdrivers (Phillips and flat-head)
- Allen wrench set
- Rubber mallet or hammer
- Protective gloves
All tools should be handy to avoid interruptions.
Safety Precautions To Consider
Safety always comes first.
Wear protective gear and practice caution.
| Step | Precaution |
|---|---|
| 1 | Wear gloves to protect your hands |
| 2 | Ensure a clear workspace to avoid tripping |
| 3 | Work with a buddy for heavy lifting |
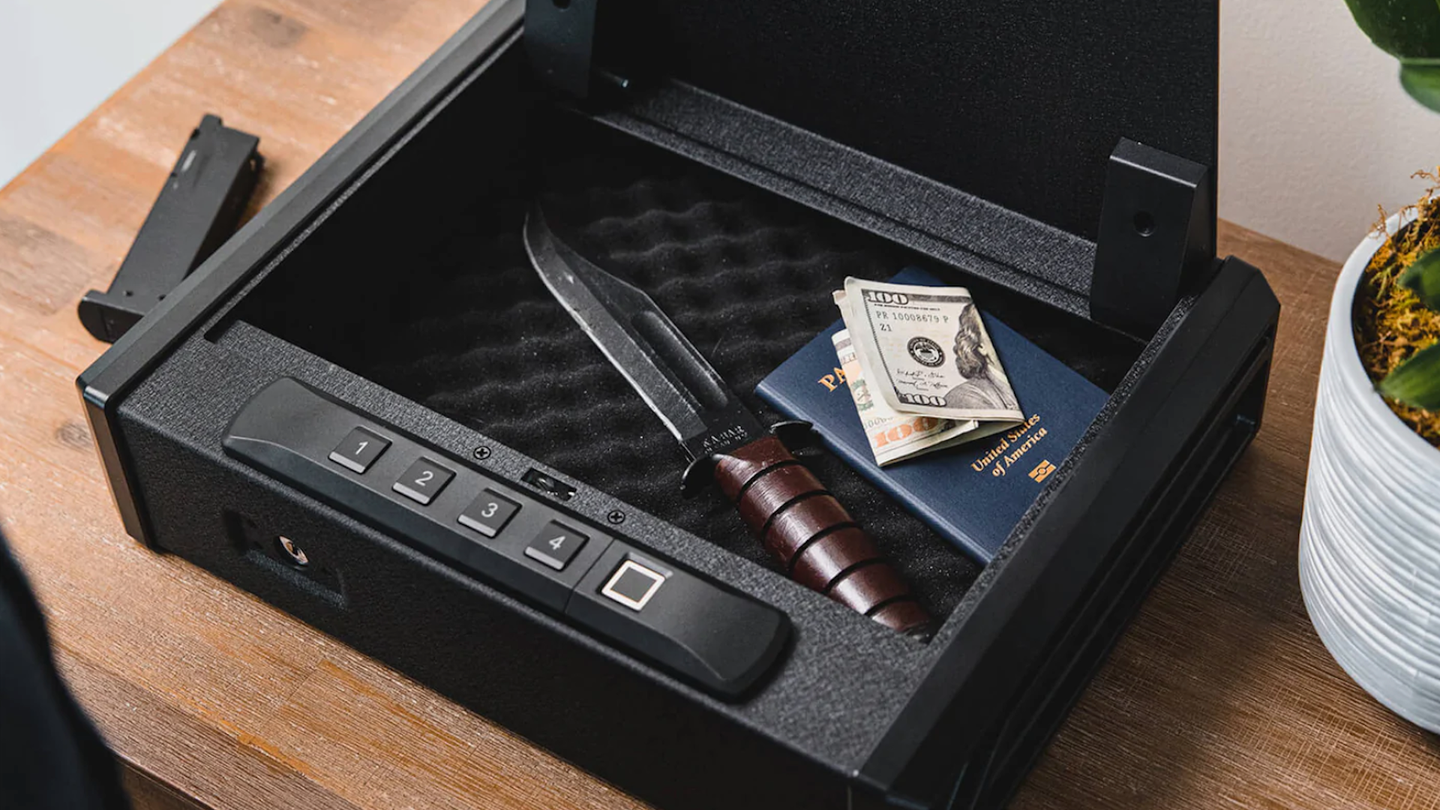
Emptying The Safe Contents
Clear out the safe to make it lighter and safer.
- Remove all firearms and ammunition.
- Take out valuables and documents.
- Shelf units inside should be detached and removed.
A clear safe prevents items from being damaged.
Understanding Your Cannon Safe’s Hinges
Before you can begin removing the door from your Cannon gun safe, it’s essential to know how the hinges work. Cannon safes are built with security and durability in mind, which means the hinges are designed to be robust and tamper-resistant. Understanding the hinge mechanism is the first step to successfully remove the safe door without causing damage to the safe or risking injury.
Types Of Hinges And Their Mechanisms
Cannon gun safes typically feature one of two types of hinges: external and internal. External hinges are visible on the outside of the safe and allow the door to swing open 180 degrees, providing full access to the contents. Internal hinges offer a sleeker look and are hidden within the safe’s construction, which can limit the door’s opening angle. Both types ensure the door operates smoothly and securely.
- External Hinges: Easily spotted and accessible for door removal.
- Internal Hinges: Not visible, requiring different removal techniques.
Locating The Hinge Pins Or Bolts
Once you have identified the type of hinges on your Cannon safe, the next step is to locate the pins or bolts that hold the door in place. For external hinges, the hinge pins or bolts will be visible when the door is open. In contrast, internal hinges may require exploring the door’s edge or frame to find the securing mechanism. Keep in mind that the hardware may be covered by caps or panels to enhance security.
- Open the safe door to fully expose the hinges.
- Inspect the hinges to find caps or panels hiding hinge pins or bolts.
- Use appropriate tools to gently remove hinge coverings, if present.
- Visible pins or bolts can now be accessed for hinge detachment.
With a solid understanding of your Cannon safe’s hinge design and securing methods, you are equipped to continue with the removal process. Whether faced with internal or external hinges, align your tools and approach with care to maintain the integrity of your safe.
Credit: www.tractorsupply.com
Step-by-step Removal Process
Removing the door from your Cannon gun safe may seem daunting. But with the right tools and steps, it’s a process you can handle. Follow this guide to safely and efficiently remove your safe door. Let’s dive into the removal process.
Unlocking And Opening The Door
Start by ensuring your safe is unlocked.
- Enter your safe’s combination or use the key.
- Turn the handle to retract the locking bolts.
- Gently open the door to its fullest extent to access the hinges.
Detaching The Hinges
With the door open, you’ll see the hinges that need detaching.
- Locate the top and bottom hinge caps.
- Remove these caps with a screwdriver.
- Slide out the hinge pins carefully.
- Keep these components in a secure place.
Note: Some models might require additional steps. Consult your manual for specifics.
Enlisting Assistance For Safe Handling
Safe doors are heavy. Getting help is crucial.
- Find at least one strong individual.
- Communicate clearly while lifting.
- Steadily hold and gently remove the door from the safe body.
Take your time and prioritize safety to prevent injury or damage.
Post-removal Tips
Once you have removed the door of your Cannon gun safe, the next steps are crucial for maintaining its condition. Post-removal care prevents damage and keeps your safe in top shape. Follow these simple tips to ensure your safe’s longevity.
Storing The Door Safely
Choose an appropriate spot to store the heavy door. It should be a clean, dry area, away from any potential hazards or risks of falling over.
- Protect the edges with soft materials like foam or carpet scraps to prevent scratches or dents during storage.
- Ensure the door lies flat or is securely propped up to avoid bending or warping the hinges.
- Avoid stacking items on the door which may exert pressure and cause damage to any internal components.
Protecting The Locking Mechanism
With the door off, the locking mechanism is vulnerable. Take steps to ensure its safety and functionality.
- Wrap the locking bolts and handle in a soft cloth to avoid any scratches or contact with dirt.
- Secure loose parts like screws or plates by storing them in a labeled bag or box.
- Regularly check on the stored door. An occasional wipe down with a dry cloth keeps rust and dust at bay.
Reattaching The Door
Reattaching the Door of your Cannon Gun Safe might seem daunting. Fear not. Follow these straightforward steps to ensure your safe’s door is back on securely.
Aligning The Hinges Properly
Correct hinge alignment is crucial for a smooth operation. Start by lifting the door slightly. Guide the hinges into their respective placements. You might need an extra pair of hands for this. Once aligned, gently lower the door. Check that there’s no gap and the door moves freely.
Ensuring Secure Lock Functionality
The lock must engage as intended. Close the door and spin the handle. If it doesn’t lock, open the door again. Inspect the locking bolts and mechanisms. Clean any dust or debris. Lubricate moving parts with a light oil. Test the handle once more. It should now secure the door tightly.
Tips for a smooth reattachment:
- Check Alignment Twice: Double-check hinge and lock alignment before finalizing.
- Test Lock Several Times: Ensure it latches and unlatches with ease.
- Keep Tools Handy: You may need a screwdriver or a wrench.
- Never Force: If something doesn’t fit, don’t force it. Check for obstructions.
| Step | Action | Check Point |
|---|---|---|
| 1 | Lift and position door | Proper Hinge Alignment |
| 2 | Secure with tools | Tight Fit |
| 3 | Test Lock Mechanism | Smooth Operation |
With patience and careful attention, your Cannon Gun Safe’s door will be as good as new. Remember, regular maintenance ensures longevity and reliability. Keep your safe’s manual close by for specific guidance. Secure storage is critical for your peace of mind.
Frequently Asked Questions Of How To Remove The Door Of Your Cannon Gun Safe Unlocking The Secrets
What Is The Default Code For The Cannon Gun Safe?
The default code for a Cannon gun safe typically is a factory-set combination provided in the safe’s ownership manual. Always refer to the specific model’s manual for the exact code.
How Long Is The Lockout On The Cannon Safe?
The lockout period on a Cannon safe typically lasts for 5 minutes after five incorrect attempts.
How Do You Remove An Old Safe?
To remove an old safe, first, assess the weight and size. Next, empty the contents for easier handling. Then, unlock and secure any bolts or anchors. Use proper equipment like a dolly to move it safely. Consider hiring professional movers if the safe is particularly heavy or large.
Why Won T My Safe Door Close?
Your safe door may not close due to obstruction, misaligned bolts, or a bent door. Check for debris, ensure bolts move freely, and inspect the door’s shape. Regular maintenance can prevent these issues.
Conclusion
Removing the door of your Cannon gun safe doesn’t need to be a daunting task. With the right tools and our step-by-step guide, you’re now equipped to tackle the job confidently. Always prioritize safety and refer to your manual for specifics.
Secure your peace of mind by mastering the inner workings of your trusted safe.